Laser Cutting


Below are the drawings we designed in Fusion360 for our product:
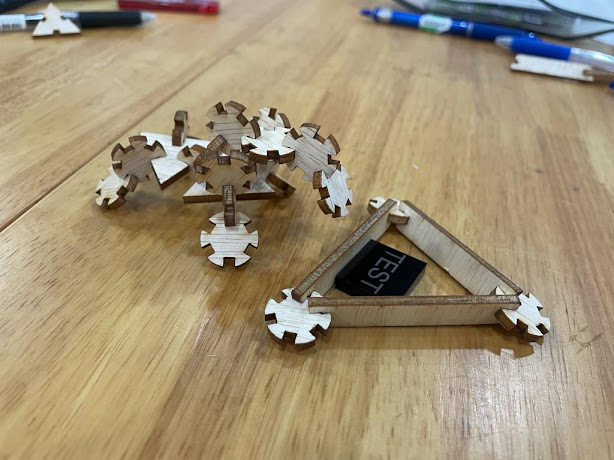
6-way hub connection
5-way hub connection
A Strut X35
Start-up Procedure:
1) Before commencing with the laser cutting process, identify all fire extinguishers within the venue.
2) Locate and turn on the air compressor (Red Switch at the side of the machine).

3) Locate and turn on the fume extractor (Green Switch behind the machine).

4) Switch on the laser cutter (Black ON-OFF switch at the corner of the machine).
5) Wait for the laser cutter to complete initialization.
After initialization

6) Once the laser cutter has been started up, proceed to the computer at the workstation to start setting the drawing to the laser cutter machine.
Operation of the laser cutter including the basic use of Corel-Draw:
7) For Corel-Draw: Import the DXF file or SVG file of our construction kit to be laser-cut.
8) Set line weight, colour and fill depending on our needs.

(Red for Vector Cut, Green for Engrave and Engrave Etch/ Score)
(Hairline line weight for Vector cut and Engrave Etch/Score)
(Green Fill for Engrave)


9) Put the choice of material to be cut inside the laser cutter.
10) Set the Operating Area to the area of our Material to be cut so that the laser cutter does not damage the internals of the machine by overshooting the material.
11) Send to print: File > Print (Ctrl-P), Press PRINT
12) Set Auto Focus to on (for Epilog M2 Machine) or Thickness (for Epilog Pro Machine)

13) Measure the thickness of the material and import the correct material setting from the library and set air assist to On (for Epilog M2 Machine), for both cuting and engraving.

14) For engraving, select the engrave tab and select the desired material.
15) For Cutting, select the vector tab and select the desired material.
16) Press Print at the bottom right of the interface.
17) On the laser cutter machine, ensure that the file is correct and press the GREEN go button (Epilogue FUSION M2) or PLAY button(Epilogue FUSION PRO).


18) After the product has been laser cut, wait for 30 seconds to let the fume extractor remove the fume inside the laser cutter machine before removing the laser cut product.
19) Open the glass cover and use your fingers to knock the cut product out of the material.
- If the cut product does not cleanly fall off the sheet of material, slowly close the cover and do another round of cutting.
Shut-down Procedure:
20) Switch off the laser cutter (Black ON-OFF switch at the corner of the machine).
21) Switch off the fume extractor (Green Switch behind the machine).
22) Switch off the air compressor (Red Switch at the corner of the machine).
23) Perform housekeeping area around the laser cutter.


Comments
Post a Comment